Làm thế nào để thực hiện - Thư viện trình chiếu
Tìm hiểu cách tạo thư viện trình chiếu đáp ứng bằng CSS và JavaScript.
Thư viện trình chiếu
Trình chiếu được sử dụng để chuyển qua các phần tử:


Tạo Thư viện Trình chiếu
Bước 1) Thêm HTML:
Thí dụ
<!-- Container for the image gallery -->
<div class="container">
<!-- Full-width images with number text -->
<div class="mySlides">
<div class="numbertext">1 / 6</div>
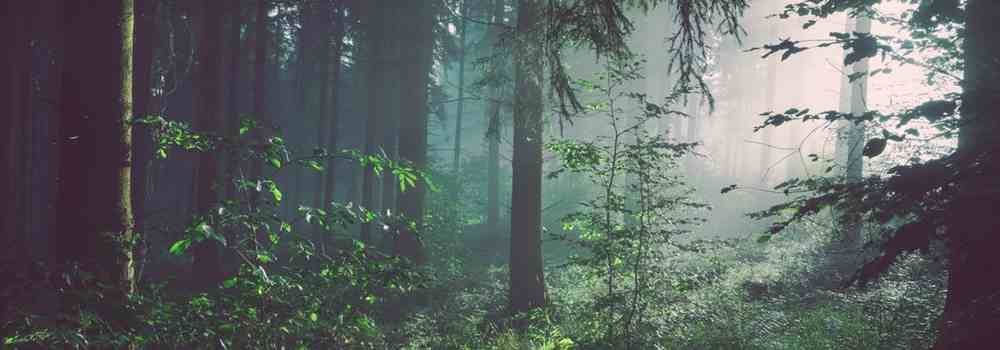
<img src="img_woods_wide.jpg"
style="width:100%">
</div>
<div class="mySlides">
<div class="numbertext">2 / 6</div>
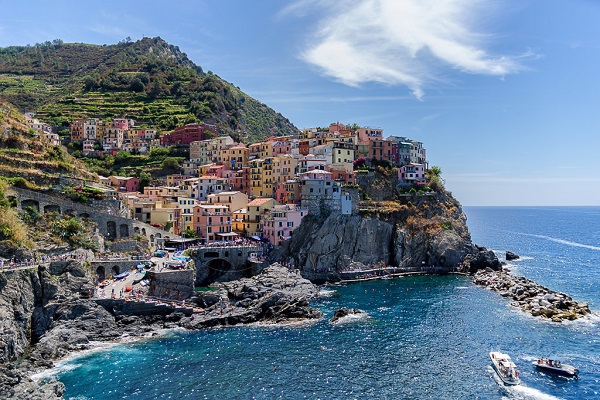
<img src="img_5terre_wide.jpg"
style="width:100%">
</div>
<div class="mySlides">
<div class="numbertext">3 / 6</div>
<img src="img_mountains_wide.jpg"
style="width:100%">
</div>
<div class="mySlides">
<div class="numbertext">4 / 6</div>
<img src="img_lights_wide.jpg"
style="width:100%">
</div>
<div class="mySlides">
<div class="numbertext">5 / 6</div>
<img src="img_nature_wide.jpg"
style="width:100%">
</div>
<div class="mySlides">
<div class="numbertext">6 / 6</div>
<img src="img_snow_wide.jpg"
style="width:100%">
</div>
<!--
Next and previous buttons -->
<a class="prev" onclick="plusSlides(-1)">❮</a>
<a class="next" onclick="plusSlides(1)">❯</a>
<!-- Image text -->
<div
class="caption-container">
<p id="caption"></p>
</div>
<!-- Thumbnail images -->
<div class="row">
<div
class="column">
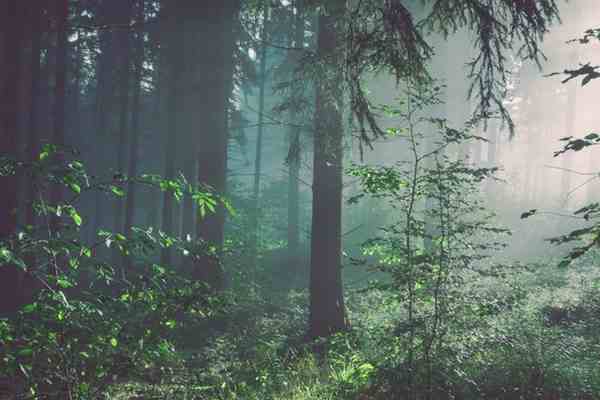
<img class="demo cursor" src="img_woods.jpg"
style="width:100%" onclick="currentSlide(1)" alt="The Woods">
</div>
<div class="column">
<img class="demo cursor" src="img_5terre.jpg" style="width:100%" onclick="currentSlide(2)"
alt="Cinque Terre">
</div>
<div class="column">
<img class="demo
cursor" src="img_mountains.jpg" style="width:100%" onclick="currentSlide(3)"
alt="Mountains and fjords">
</div>
<div class="column">
<img class="demo
cursor" src="img_lights.jpg" style="width:100%" onclick="currentSlide(4)"
alt="Northern Lights">
</div>
<div
class="column">
<img class="demo cursor" src="img_nature.jpg"
style="width:100%" onclick="currentSlide(5)" alt="Nature and sunrise">
</div>
<div class="column">
<img class="demo cursor" src="img_snow.jpg" style="width:100%" onclick="currentSlide(6)"
alt="Snowy Mountains">
</div>
</div>
</div>
Bước 2) Thêm CSS:
Tạo kiểu cho thư viện hình ảnh, các nút tiếp theo và trước đó, văn bản chú thích và các dấu chấm:
Thí dụ
* {
box-sizing: border-box;
}
/* Position the image container
(needed to position the left and right arrows) */
.container {
position: relative;
}
/* Hide the images by default */
.mySlides {
display: none;
}
/* Add a pointer when hovering over the thumbnail
images */
.cursor {
cursor: pointer;
}
/* Next & previous
buttons */
.prev,
.next {
cursor: pointer;
position:
absolute;
top: 40%;
width: auto;
padding: 16px;
margin-top: -50px;
color: white;
font-weight: bold;
font-size: 20px;
border-radius: 0 3px 3px 0;
user-select:
none;
-webkit-user-select: none;
}
/* Position
the "next button" to the right */
.next {
right: 0;
border-radius: 3px 0 0 3px;
}
/* On hover, add a black background color with a
little bit see-through */
.prev:hover,
.next:hover {
background-color: rgba(0, 0, 0, 0.8);
}
/* Number text (1/3 etc) */
.numbertext {
color: #f2f2f2;
font-size: 12px;
padding: 8px 12px;
position: absolute;
top: 0;
}
/* Container for
image text */
.caption-container {
text-align: center;
background-color: #222;
padding: 2px 16px;
color: white;
}
.row:after
{
content: "";
display: table;
clear: both;
}
/* Six
columns side by side */
.column {
float: left;
width:
16.66%;
}
/* Add a transparency effect for thumnbail images */
.demo {
opacity: 0.6;
}
.active,
.demo:hover {
opacity: 1;
}
Bước 3) Thêm JavaScript:
Thí dụ
var slideIndex = 1;
showSlides(slideIndex);
// Next/previous
controls
function plusSlides(n) {
showSlides(slideIndex += n);
}
// Thumbnail image controls
function currentSlide(n) {
showSlides(slideIndex = n);
}
function showSlides(n) {
var
i;
var slides = document.getElementsByClassName("mySlides");
var dots = document.getElementsByClassName("demo");
var captionText
= document.getElementById("caption");
if (n > slides.length) {slideIndex
= 1}
if (n < 1) {slideIndex = slides.length}
for (i = 0; i
< slides.length; i++) {
slides[i].style.display =
"none";
}
for (i = 0; i < dots.length; i++) {
dots[i].className = dots[i].className.replace(" active", "");
}
slides[slideIndex-1].style.display = "block";
dots[slideIndex-1].className
+= " active";
captionText.innerHTML = dots[slideIndex-1].alt;
}